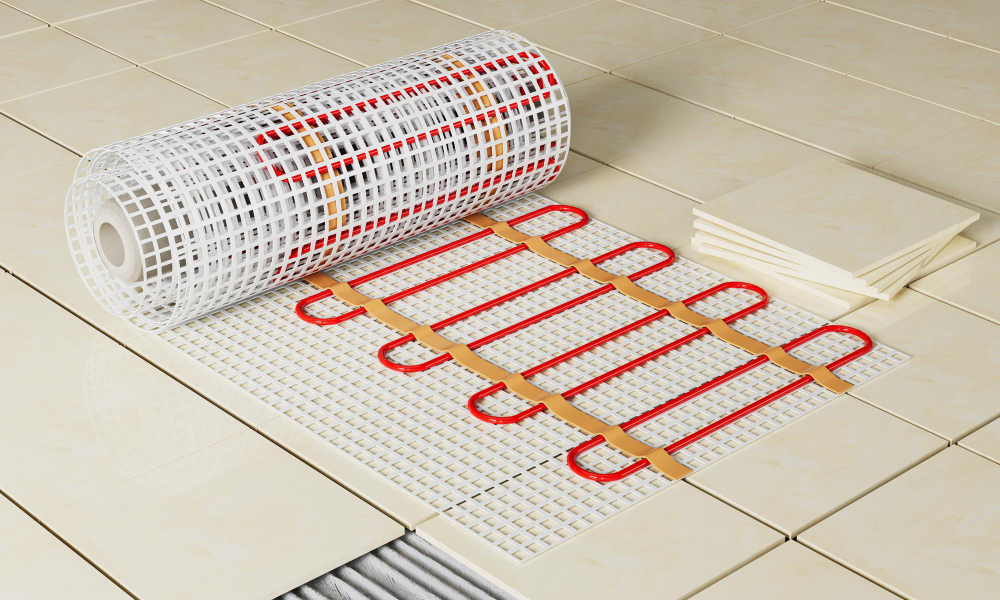
Infrared heating systems have become increasingly popular in recent years due to their energy efficiency, cost-effectiveness, and environmental friendliness. They provide heat through the use of electromagnetic radiation, which warms objects and surfaces rather than the air around them. Installing an infrared heating system can be a great investment for your home or business, and in this step-by-step guide, we will walk you through the process of installing one.
Step 1: Determine the Best Placement for Your Infrared Heating System
The first step in installing your infrared heating system is determining the best placement for it. Infrared heaters are most effective when they are installed in areas where people will be spending the most time. This can include living rooms, bedrooms, or workspaces. Additionally, it’s important to choose a location that is away from any combustible materials, such as curtains or furniture.
Step 2: Choose Your Infrared Heating System
Once you have determined the best placement for your infrared heating system, it’s time to choose the right one for your needs. There are many different types of infrared heaters on the market, including wall-mounted, ceiling-mounted, and portable options. Wall-mounted and ceiling-mounted heaters are ideal for permanent installations, while portable heaters are great for temporary or mobile heating solutions.
Step 3: Gather Your Tools and Materials
Before you begin the installation process, make sure you have all of the necessary tools and materials on hand. You will likely need a drill, screws, anchors, a level, and a screwdriver. You may also need wire cutters, wire strippers, and electrical tape.
Step 4: Install Your Infrared Heating System
Now it’s time to install your infrared heating system. The specific steps will vary depending on the type of heater you have chosen, but the general process is as follows:
- Turn off the power to the area where you will be installing the heater.
- Mark the location where you will be installing the heater, taking into account the manufacturer’s recommendations for clearance from combustible materials.
- Use a level to ensure that the heater will be installed evenly.
- Drill holes into the wall or ceiling where the heater will be installed, using anchors if necessary.
- Mount the heater onto the wall or ceiling, making sure it is secure.
- Connect the electrical wires to the heater, following the manufacturer’s instructions. Be sure to use electrical tape to secure any exposed wires.
- Turn the power back on and test the heater to ensure it is working properly.
Step 5: Enjoy Your Infrared Heating System
Once your infrared heating system is installed, it’s time to sit back and enjoy the warmth it provides. Infrared heaters are a great way to save money on your heating bills while also reducing your carbon footprint. With proper installation and maintenance, your infrared heater can provide reliable, efficient heating for years to come.
In conclusion, installing an infrared heating system is a relatively simple process that can provide many benefits for your home or business. By following these steps and taking the time to choose the right heater for your needs, you can enjoy the comfort and cost savings of an infrared heating system in no time.


